Username: Password:

Author Topic: Les Paul Replicas - Build Progress  (Read 11744 times)

Bainzy

  • Lightweight
  • ***
  • Posts: 771
    • http://www.shredaholic.com
Les Paul Replicas - Build Progress
« on: July 26, 2007, 03:10:45 PM »
Here's what's been keeping me busy the past few months, building the '59 LP replicas for me and two friends. I'm using Korina for the back, so they should sound a little bit original as well as having everything else vintage spec.


The template for the LP neck is 1/4" MDF from B&Q cut out with a bandsaw, edged with straight MDF and a router follower bit, and finally the curves were done on my tabletop drill press with a small drum sander bit I nicked from the dremel which was just the ticket.


A pair of one piece Mahogany neck blanks rough-cut out on the bandsaw:


Here's the Maple and Korina as they arrived. The Korina is light and resonant, thanks Jonathan (Feline) for the tip. I think I've found the perfect timber - it cuts like butter, planes incredibly fast and easily (it took under a minute to go from rough to properly surfaced as seen in the pic), sounds great, weighs less than Alder and looks great too. The maple was surfaced before I bought it, which should save a lot of time.


3 Les Paul body/top's worth of timber there, which amounted to exactly £100 inc. delivery.

Bainzy

  • Lightweight
  • ***
  • Posts: 771
    • http://www.shredaholic.com
Les Paul Replicas - Build Progress
« Reply #1 on: July 26, 2007, 03:11:28 PM »
Clamping up and gluing the two pieces of Korina for the back:


Perfect joint with invisible seam - hard as hell to do with a hand plane if you've never tried it before, but it looks the business and is necessary when using hide glue:


Marking out where im going to route the cavities, there's still a bit of drum sanding necessary:


I made this curved rail jig out of MDF for routing the truss rod channel, here's it attached to the neck with double sided tape, I also fixed it with screws to parts of the neck that would be cut off later:


Routing out the curved 3/16" wide channel:


Cutting out the anchor slot with a sharp chisel:


Allparts vintage style truss rod with sheath removed, with brass adjusting nut, on top of some flamey hard rock maple I'm using for the top:


Installing the maple fillet for the truss rod, with hide glue:


Today I built a jig for the Safe-T-Planer drill press attachment to thickness fretboards with and also to make those truss rod fillets exactly 3/16" thick - works a treat!


Bainzy

  • Lightweight
  • ***
  • Posts: 771
    • http://www.shredaholic.com
Les Paul Replicas - Build Progress
« Reply #2 on: July 26, 2007, 03:13:34 PM »
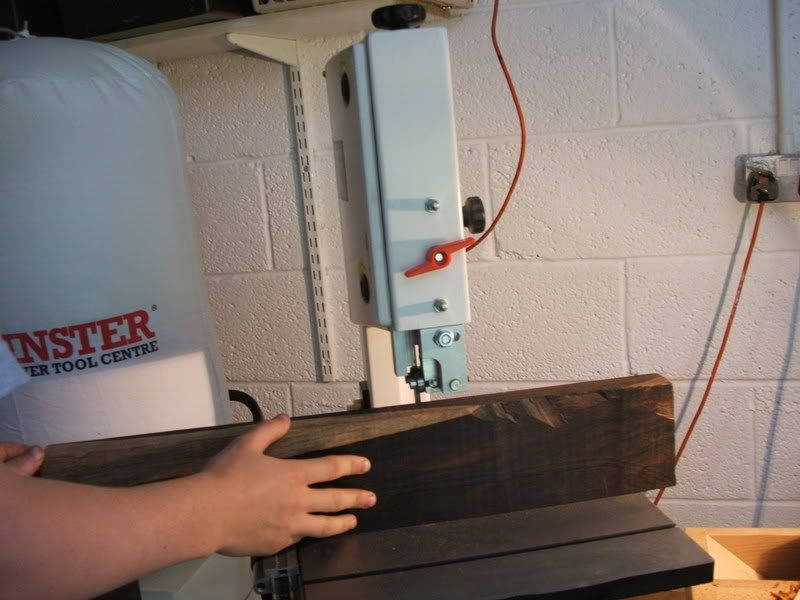
Bandsawing out the fretboard blank from a block of old growth Brazilian Rosewood:


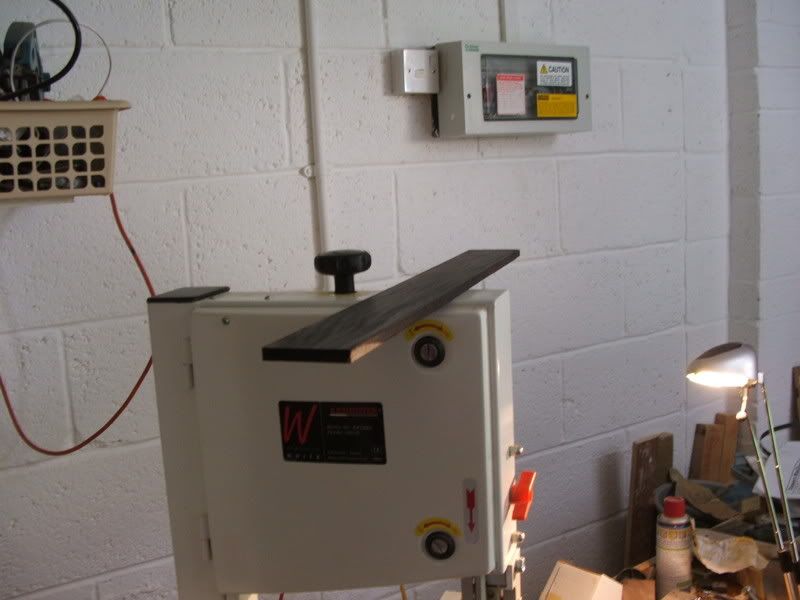
Sawing the fretboard to width. The offcut will be used for making the soles of some carving planes:


Brazilian Rosewood fretboard blank, ready to be thicknessed:


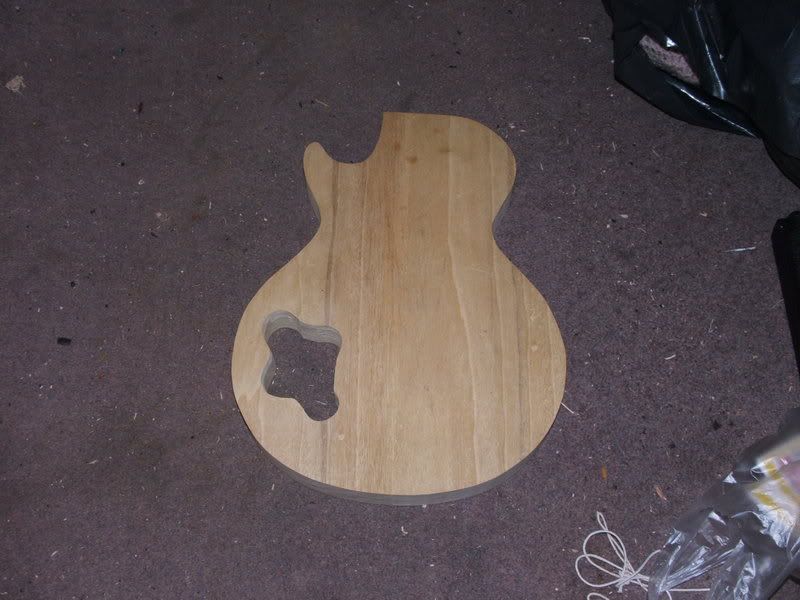
Removing most of the control cavity wood with a 1" forster bit:


Rear view of the (almost) finished back section:


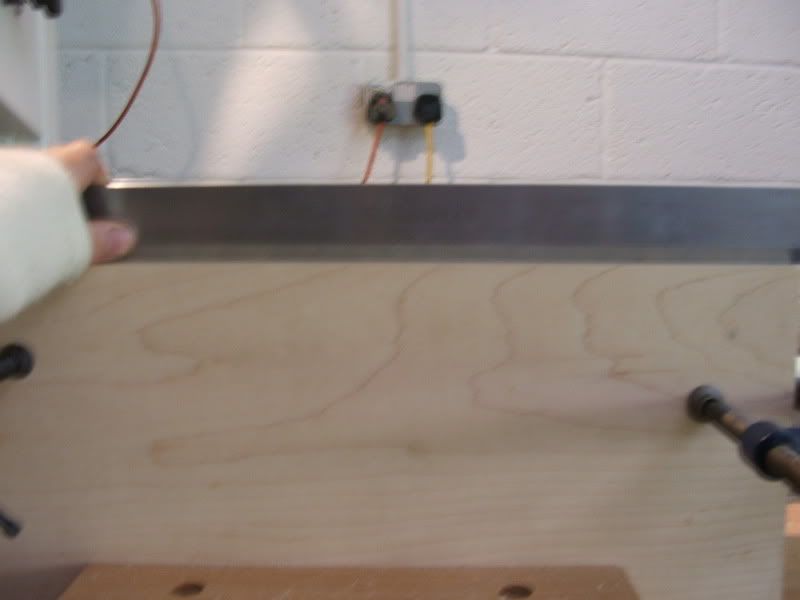
Did some work joining the maple top for guitar #2, the friend I'm building it for didn't want hide glue so this one is with the more forgiving titebond. I still work to the tolerances I use for perfect invisible hide glue joints though, as it's good form and also good practice for hide glue joints.


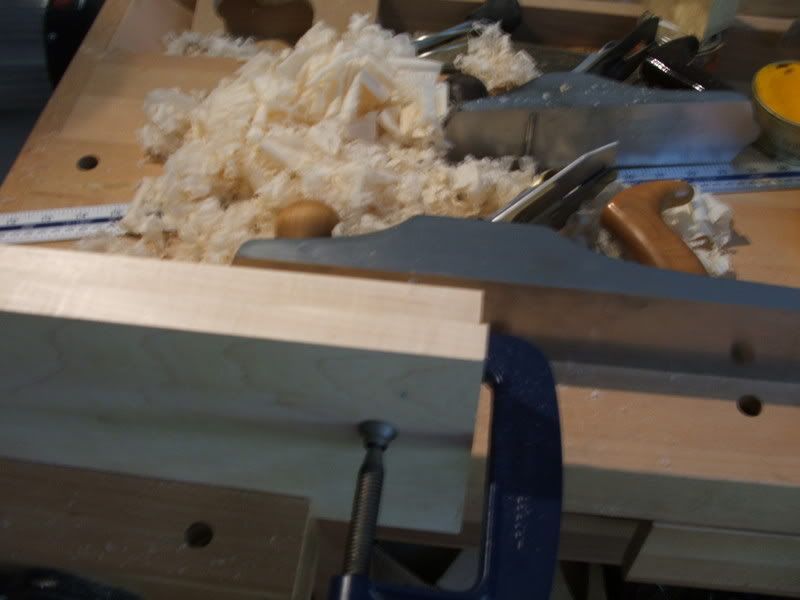
Two of the faces were flattened, and clamped together so I could plane the join.


The shavings from this maple are whiter than white!


Before putting the pieces together and up to the light, I checked them with a straightedge too lengthways and widthways. If these show no light, then putting the pieces together shouldn't either.


The WD40 was for the clamps before I started gluing, just to get them working smoothly again after sitting in the garage.

WezV

  • Middleweight
  • *****
  • Posts: 5838
    • http://wezvenables.co.uk
Les Paul Replicas - Build Progress
« Reply #3 on: July 26, 2007, 03:21:01 PM »
looking good bainzy!!!

I have just finished my first guitar with the Idigbo/korina/limba and it really is identical to the other type of korina/limba

Bainzy

  • Lightweight
  • ***
  • Posts: 771
    • http://www.shredaholic.com
Les Paul Replicas - Build Progress
« Reply #4 on: July 26, 2007, 03:23:35 PM »
Thanks, yeah I can't wait to get these strung up. I'm gonna put an order in for an unpotted AIV Mule set for mine today with Nickel covers, as I know having the pickups here will spur me on to work even harder!

Twinfan

  • Light Heavyweight
  • ******
  • Posts: 10528
Les Paul Replicas - Build Progress
« Reply #5 on: July 26, 2007, 03:25:23 PM »
I've been watching these on the Les Paul Forum - they look awesome Bainzy  :D

Can't wait to see the finished article.

noodleplugerine

  • Welterweight
  • ****
  • Posts: 3869
Les Paul Replicas - Build Progress
« Reply #6 on: July 26, 2007, 03:33:08 PM »
Great pictures!

Beautiful wood - I can't wait to see the rest of the build in the same detail as shown here!

I wish Wez would do the same!
My last FM.
ESP Horizon NTII.
ESP Viper Camo.
ENGL Screamer.

WezV

  • Middleweight
  • *****
  • Posts: 5838
    • http://wezvenables.co.uk
Les Paul Replicas - Build Progress
« Reply #7 on: July 26, 2007, 03:37:16 PM »
Quote from: noodleplugerine
I wish Wez would do the same!


what do you mean!!  You fancy having one!!  

my problem is that i tend to want to reinvent everything i do - even when doing a straight copy of something i want to improve the features i dont like.

i couldnt do a LP without at least having major changes to the neck join and a neck that wasnt made from one peice of wood!!!!

noodleplugerine

  • Welterweight
  • ****
  • Posts: 3869
Les Paul Replicas - Build Progress
« Reply #8 on: July 26, 2007, 03:38:39 PM »
I mean a picture walkthrough of your builds - I find this sort of thing really interesting!
My last FM.
ESP Horizon NTII.
ESP Viper Camo.
ENGL Screamer.

TwilightOdyssey

  • Guest
Les Paul Replicas - Build Progress
« Reply #9 on: July 26, 2007, 03:40:26 PM »
Stellar job!!!!

WezV

  • Middleweight
  • *****
  • Posts: 5838
    • http://wezvenables.co.uk
Les Paul Replicas - Build Progress
« Reply #10 on: July 26, 2007, 03:42:44 PM »
i do tend to keep lots of in  progress shots and post them on guitar building forums but i didnt really think this was the place for it!!

you can always dig through my photobucket account to see whats currently on the go!!

http://s36.photobucket.com/albums/e31/WezV/


If you want i will document one of the next build a bit better for you guys!!

Bainzy

  • Lightweight
  • ***
  • Posts: 771
    • http://www.shredaholic.com
Les Paul Replicas - Build Progress
« Reply #11 on: July 26, 2007, 04:32:51 PM »
I agree, I think you should document stuff here Wez - one of the things that inspired me to start doing this was seeing someone's build progress in a thread on a guitar forum.  8)

noodleplugerine

  • Welterweight
  • ****
  • Posts: 3869
Les Paul Replicas - Build Progress
« Reply #12 on: July 26, 2007, 04:40:01 PM »
Quote from: WezV

If you want i will document one of the next build a bit better for you guys!!


Yay =D

I can't imagine the team being upset by it - Since you're clearly an adamant fan of BKPs - And a longstanding member of the forum.
My last FM.
ESP Horizon NTII.
ESP Viper Camo.
ENGL Screamer.

WezV

  • Middleweight
  • *****
  • Posts: 5838
    • http://wezvenables.co.uk
Les Paul Replicas - Build Progress
« Reply #13 on: July 26, 2007, 04:47:02 PM »
OK i will do that with whatever i happen to build next - it might be a korina and flamed maple LP/tele hybrid or a korina single pickup V, still trying to decide.


either way it will be started next week

Like Bainzy, i have recently been stocking up on the korina - love the stuff!!

I try to get BKP's in all my guitars but  some of my players are too bloody tight!!  Thats why the tele i just finished has 2nd hand Seymour Duncans.  the jazz in the neck aint to bad but the hot rails is bloody awfull, well compared to how it could sound with a nice BKP tele pickup anyway!! - never have liked rail pickups

i will stop de-railing bainzy's thread  and start my own soon!!!

ToneMonkey

  • Welterweight
  • ****
  • Posts: 2230
Les Paul Replicas - Build Progress
« Reply #14 on: July 26, 2007, 04:55:56 PM »
Looking good dude.  You obviously know what you're doing.

One bit of advice though, when you are joining the two halfs of wood for the body (and for the top) with your sash clamps, it may be worth wrapping a bit of cling film around the body of the clamp, over the joint........ not that I'd have been stupid enough to glue a clamp to a joint in the past........... it was actualy a clamping cowl I was using  :oops:

And don't get me started on hollowing out a control cavity with a spade bit by accident.  By the time I remembered it had a big point on the end, it had already gone through a piece of 4A quilted maple  :oops:  :oops:

Or the time I nearly routed off "Little Tonemonkey"  :?  :lol:

Keep up the good work dude, looking forward to seeing the results.
Advice worth what you just paid for it.